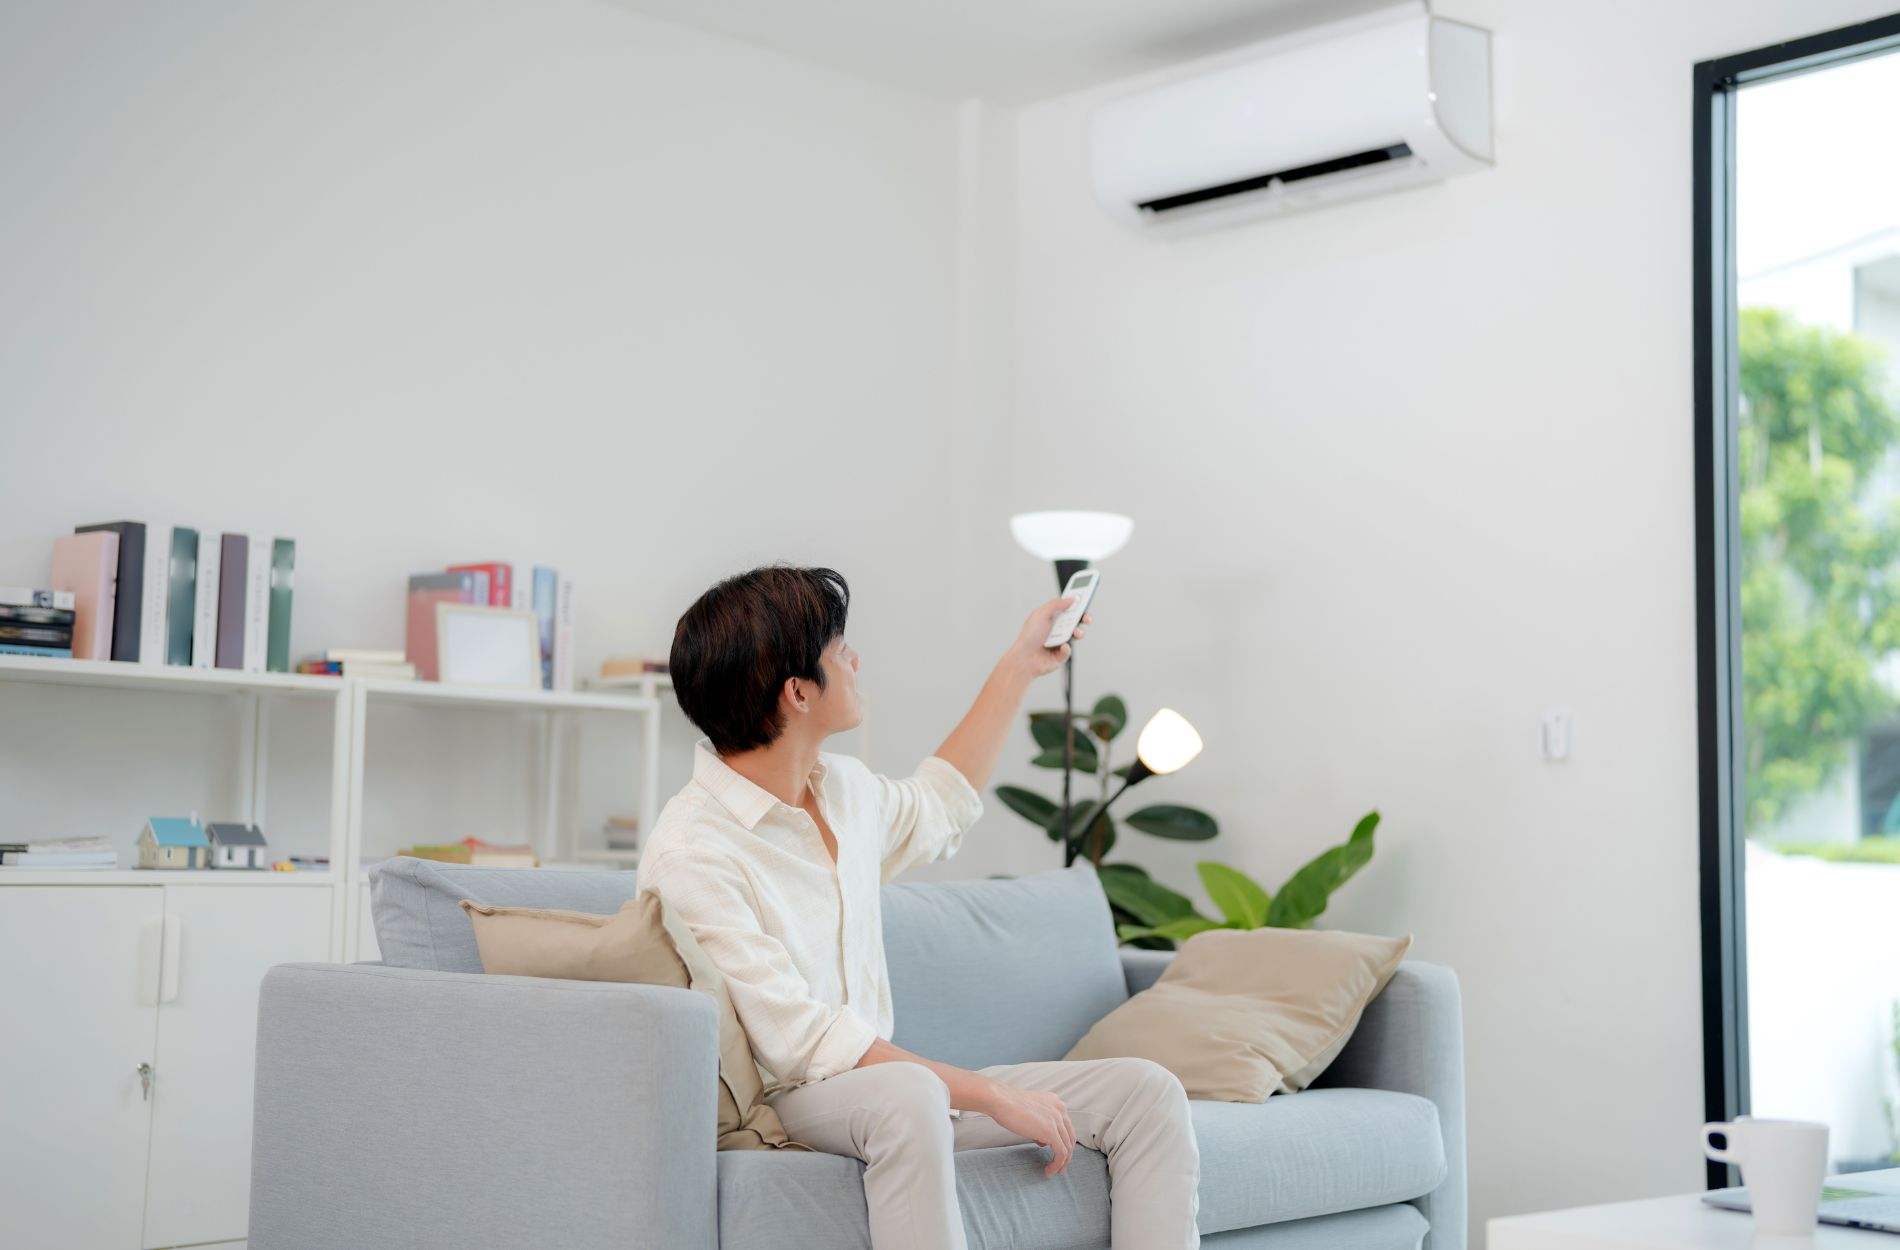
Installing a heat pump in new construction projects is a vital step in ensuring efficient climate control. A heat pump offers both heating and cooling options, making it an ideal choice for modern homes. However, to get the full benefits, it’s essential to follow best practices during the installation process. This ensures not only optimal performance but also prolongs the lifespan of the unit.
Choosing the Right Heat Pump for New Construction
Selecting the right heat pump for new construction is crucial for ensuring optimal performance and energy efficiency. The first step is to consider the size of your home and its specific heating and cooling needs. A system that is too small will struggle to maintain comfortable temperatures, while an oversized unit can cycle on and off too frequently, leading to inefficient operation and wear.
Next, evaluate the different types of heat pumps available. The two main types are air-source and ground-source heat pumps. Air-source heat pumps are cost-effective and easier to install, making them suitable for most new homes. Ground-source or geothermal heat pumps are more expensive but offer greater efficiency by using the earth’s constant temperature to regulate indoor climates.
It’s also important to consider the system’s energy efficiency ratings. Look for units with high SEER (Seasonal Energy Efficiency Ratio) and HSPF (Heating Seasonal Performance Factor) ratings. These ratings indicate the system’s efficiency in cooling and heating, respectively. Choosing a higher-rated system may have a higher upfront cost but will save you money on energy bills in the long run.
Consult our professionals to help you assess your home’s needs and recommend the best heat pump options. They will consider various factors like climate, home orientation, and insulation levels to ensure you select a system that provides reliable and efficient comfort.
Essential Steps in Heat Pump Installation
Proper heat pump installation is key to ensuring that the unit operates efficiently and lasts for many years. The installation process involves several critical steps that must be followed meticulously.
1. Site Evaluation: Before installation begins, our professionals will evaluate your home to determine the best location for the heat pump. This includes considering factors like sunlight exposure, wind direction, and proximity to living spaces to minimize noise.
2. Preparation: The area where the heat pump will be installed must be prepared properly. This involves ensuring a stable and level surface, clearing any debris, and making sure there is adequate space for airflow around the unit.
3. Mounting the Unit: The outdoor unit is then mounted on a stable platform, which could be a concrete slab or a specially designed bracket. Proper mounting is crucial to reduce vibrations and ensure stability.
4. Connecting Ductwork and Refrigerant Lines: Our technicians will connect the indoor and outdoor units using ductwork and refrigerant lines. These connections must be airtight to prevent leaks and ensure efficient operation.
5. Electrical Connections: The heat pump must be connected to your home’s electrical system by a licensed electrician. This step ensures that the unit receives the correct voltage and can operate safely.
6. System Testing: After installation, our professionals will test the system to ensure it is functioning correctly. This includes checking the refrigerant levels, airflow, and thermostat settings.
Common Installation Mistakes to Avoid
Avoiding common installation mistakes can greatly impact the performance and longevity of your heat pump. One frequent mistake is improper sizing of the unit. Installing a heat pump that is too large or too small for your home can lead to inefficiency and increased wear and tear. It’s crucial to conduct a thorough load calculation to determine the correct size needed.
Incorrect placement of the outdoor unit is another common error. Placing the unit in an area with poor airflow or too close to obstacles can hinder its performance. Ensure there is enough clearance around the unit to allow for optimal airflow and ease of maintenance.
Additionally, incorrect ductwork installation can cause significant issues. Leaky or improperly sealed ducts can reduce the system’s efficiency and lead to uneven heating and cooling. It’s essential to ensure all ductwork is properly sealed and insulated. Our professionals pay close attention to these details to avoid common mistakes during installation.
Post-Installation Maintenance and Inspections
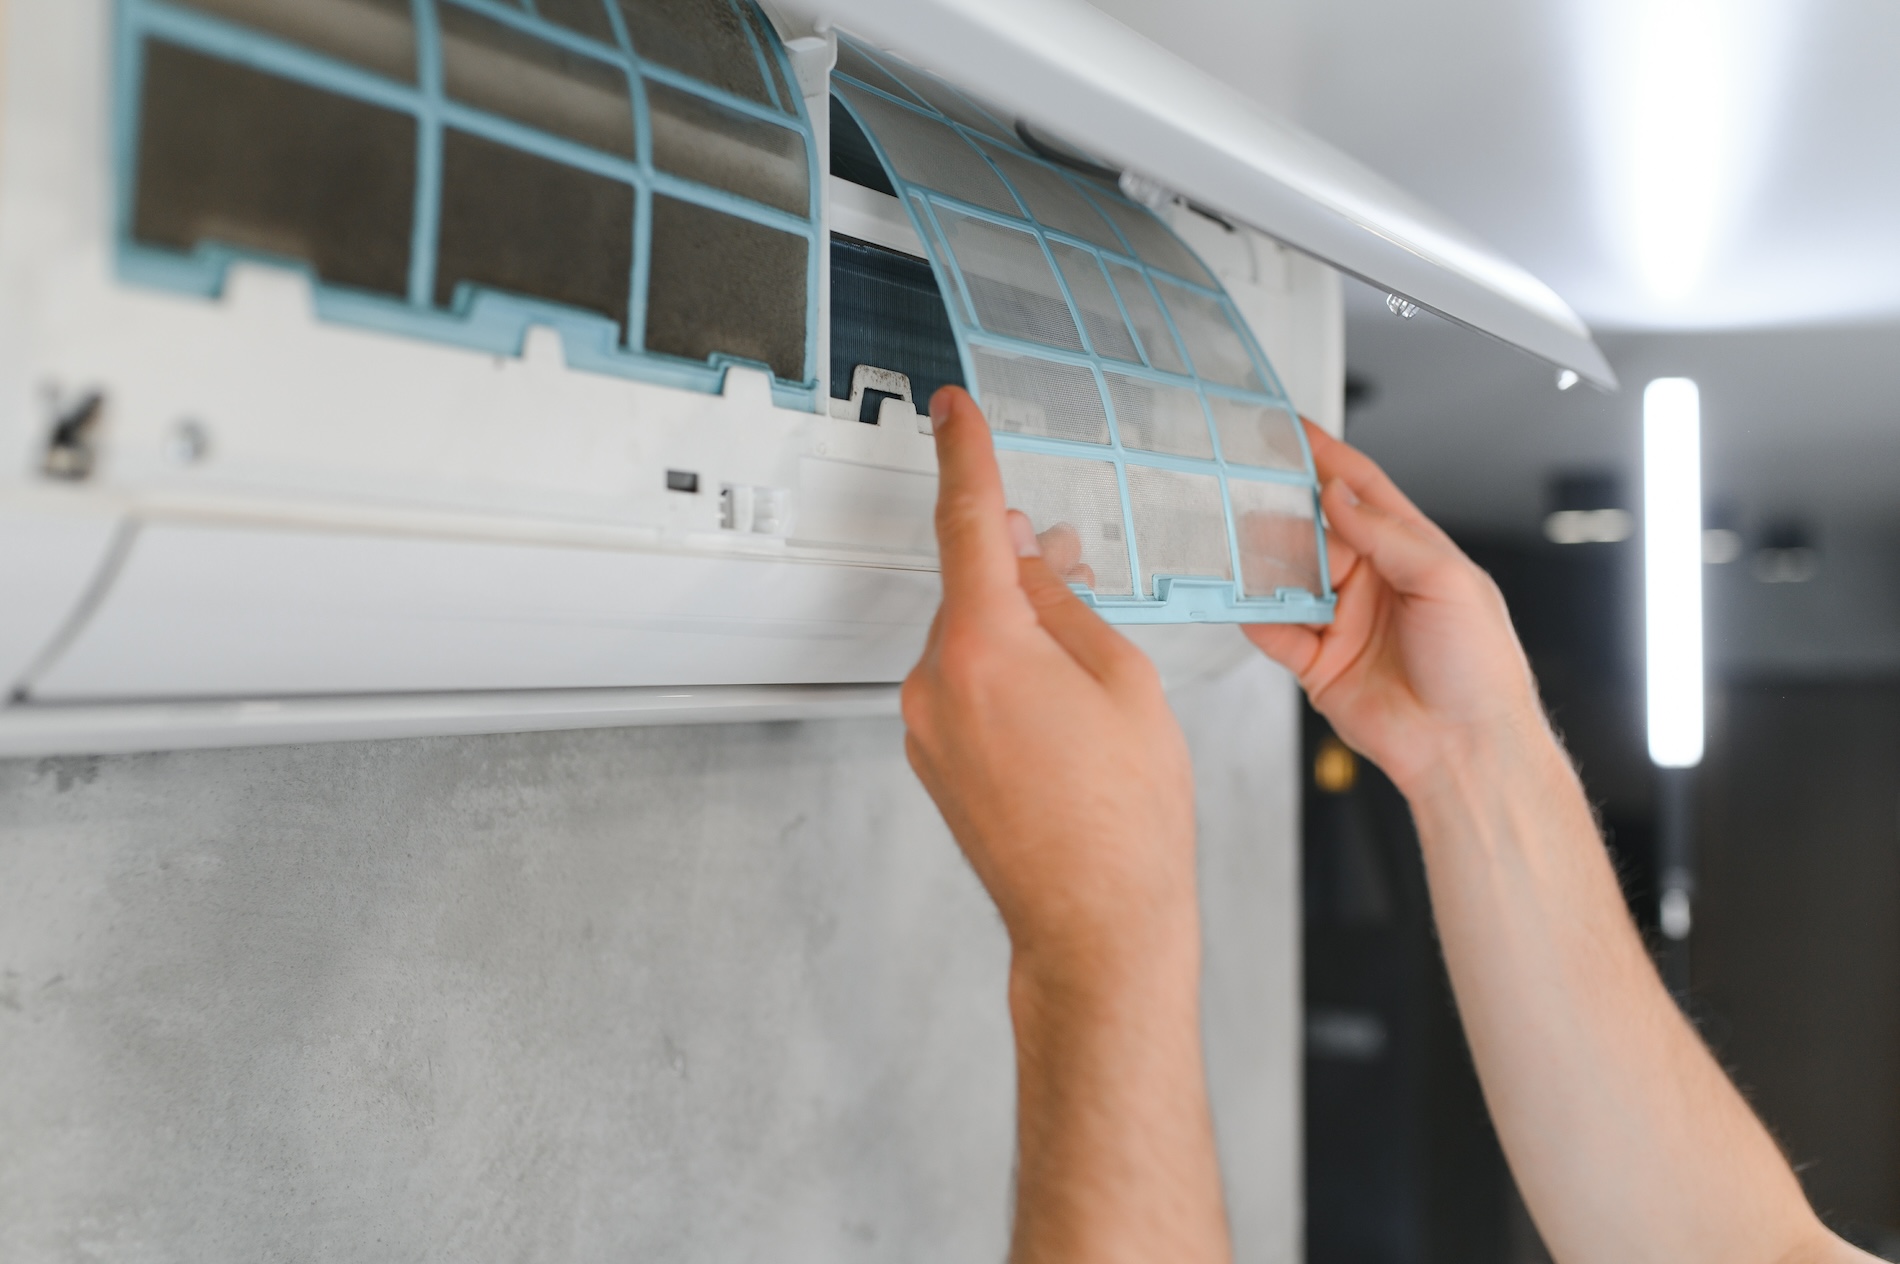
Regular maintenance and inspections after installation are vital for keeping your heat pump in top condition. Monthly or quarterly filter replacements are necessary to maintain good airflow and efficiency. Dirty HVAC filters can restrict airflow, forcing the system to work harder and consume more energy.
Another important aspect is checking the refrigerant levels. Low refrigerant can lead to poor performance and potential damage to the system. Our technicians can check and top off refrigerant levels as needed to ensure your heat pump operates efficiently.
Annual professional inspections are highly recommended. During these inspections, our technicians will thoroughly check the system, including the electrical connections, thermostat settings, and overall performance. They will also clean the coils and other components to prevent buildup that could hinder operation.
Conclusion
Proper heat pump installation is critical for maximizing its benefits and ensuring long-term efficiency. By selecting the right unit, following essential installation steps, avoiding common mistakes, and committing to regular maintenance, you can enjoy reliable and efficient heating and cooling throughout the year.
If you’re planning a new construction project, our experts at First Choice Heating & Air are here to help. We provide professional heat pump installation in Bluffdale to ensure your system is set up correctly from the start. Contact us today to schedule a consultation and take the first step toward a comfortable, energy-efficient home!


